Getting Started
1. Install the CLI
The pmtiles CLI tool is a single binary you can download at GitHub Releases.
2. Find the latest daily planet
Go to maps.protomaps.com/builds and find a recent daily basemap build.
Use the pmtiles CLI to inspect that archive:
pmtiles show https://build.protomaps.com/20260210.pmtiles...
planetiler:osm:osmosisreplicationtime 2026-02-10T05:00:00Z
...The above metadata shows that the file contains OpenStreetMap data up to that day.
3. Extract any area
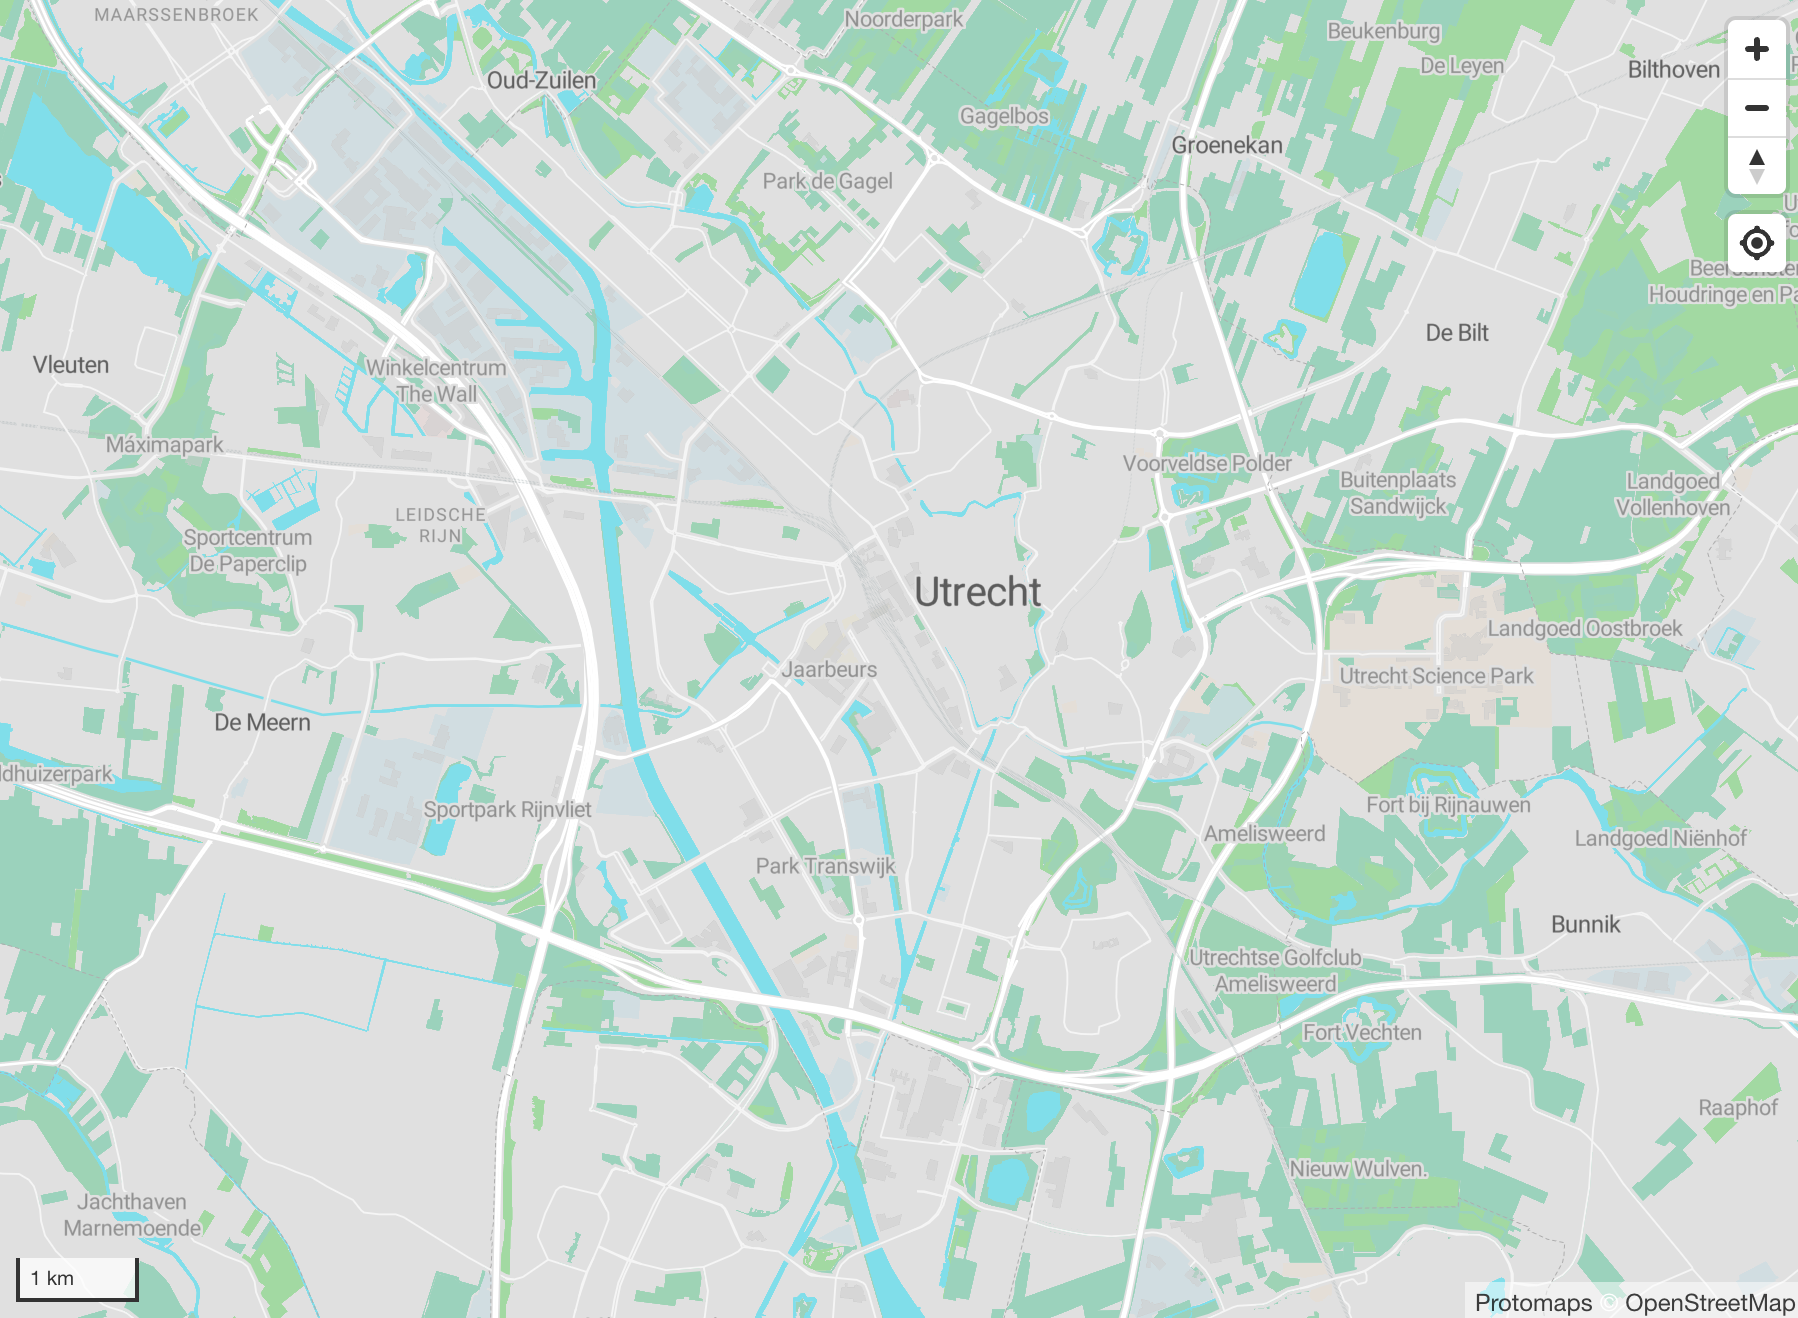
We can now create a subset of the planet file, my_area.pmtiles, with just tiles matching the bounding box 4.742883,51.830755,5.552837,52.256198 centered around Utrecht, Netherlands.
pmtiles extract https://build.protomaps.com/20260210.pmtiles my_area.pmtiles --bbox=4.742883,51.830755,5.552837,52.256198Note: You can find the bounding box of your own area, using tools, such as http://bboxfinder.com/
We can also create a subset of the whole planet that is only zoom levels 0 to 6 and ~60 MB:
pmtiles extract https://build.protomaps.com/20260210.pmtiles planet_z6.pmtiles --maxzoom=64. View the basemap
maps.protomaps.com is a viewer for basemaps. Drag our file my_area.pmtiles or planet_z6.pmtiles onto the Drop Zone to view the map:

Next Steps
- Upload your tiles to cloud storage: Cloud Storage
- Change the appearance of the basemap: Basemap Styles
- Bring your own datasets: Creating PMTiles